Generate Images with Claude and Hugging Face
Introduction
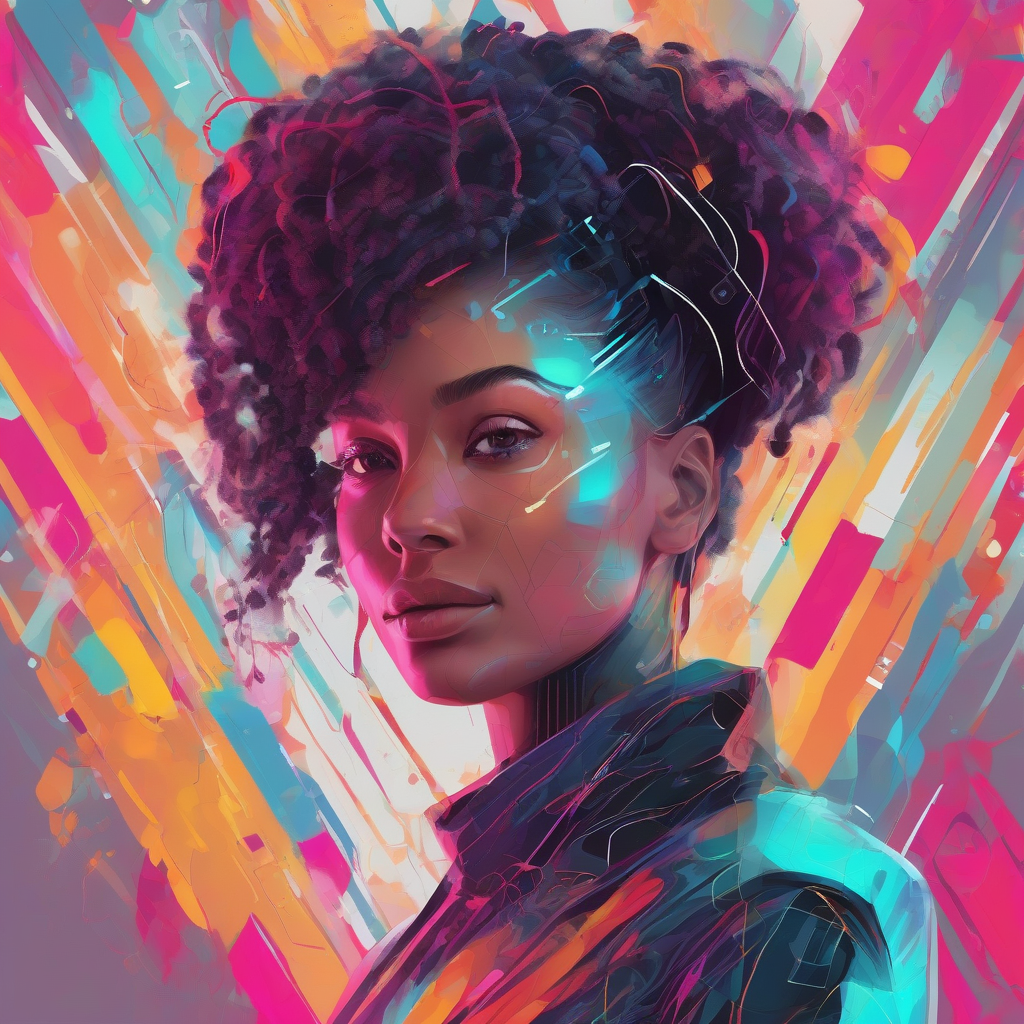
Recent advances in image generation models have significantly improved their ability to produce realistic outputs and incorporate high-quality text. One of the most exciting developments in this space is the integration of Claude, a cutting-edge AI model, with Hugging Face Spaces. This integration has made it easier than ever to use state-of-the-art models for image generation, text-to-image synthesis, and other applications.
Advantages of Integrating Claude with Hugging Face Spaces
The integration of Claude with Hugging Face Spaces offers several advantages:
- Improved image quality: Claude's advanced image generation capabilities can produce high-quality images that are comparable to those generated by professional photographers.
- Increased efficiency: By leveraging the power of Hugging Face Spaces, users can access a wide range of pre-trained models and tools, reducing the need for manual setup and configuration.
- Enhanced collaboration: The integration of Claude with Hugging Face Spaces enables seamless collaboration between users, making it easier to work together on image generation and other projects.
Connecting Claude to Hugging Face Spaces
To connect Claude to Hugging Face Spaces, follow these steps:
- Create a free Hugging Face account.
- Go to the "Search and tools" menu in the chat input box and select "Claude".
- Follow the prompts to connect Claude to Hugging Face Spaces.
Using Image Generation Tools with Claude
Once Claude is connected to Hugging Face Spaces, you can use image generation tools to create high-quality images. Here are a few examples:
- FLUX.1 Krea Dev: This tool aims to eliminate the "AI look" that often plagues generated images, producing realistic textures, natural lighting, and authentic aesthetics.
- Qwen Image: This powerful AI image generator excels at following prompts and accurate text rendering, making it ideal for designing posters, signs, infographics, and marketing materials.
Troubleshooting and Community Feedback
Some users have reported issues with connecting Claude to Hugging Face Spaces, particularly on free plans. However, the community has come together to provide solutions and workarounds.
- Manual connector setup: Users can manually set up the connector by using the URL
https://huggingface.co/mcp?login. - Community feedback: The community has provided valuable feedback and suggestions for improving the integration of Claude with Hugging Face Spaces.
Conclusion
The integration of Claude with Hugging Face Spaces has opened up new possibilities for image generation, text-to-image synthesis, and other applications. By leveraging the power of Hugging Face Spaces, users can access a wide range of pre-trained models and tools, reducing the need for manual setup and configuration. With its advanced image generation capabilities and seamless collaboration features, Claude is an exciting development in the field of AI.
Code Blocks
import torch
import torchvision
from torchvision import transforms

# Load the pre-trained model
model = torchvision.models.resnet50(pretrained=True)

# Define the transformation pipeline
transform = transforms.Compose([
    transforms.Resize(256),
    transforms.CenterCrop(224),
    transforms.ToTensor(),
    transforms.Normalize(mean=[0.485, 0.456, 0.406], std=[0.229, 0.224, 0.225])
])

# Load the image
image = Image.open('image.jpg')

# Apply the transformation pipeline
image = transform(image)

# Pass the image through the model
output = model(image)

# Print the output
print(output)
const tf = require('@tensorflow/tfjs');

// Load the pre-trained model
const model = await tf.loadLayersModel('model.json');

// Define the input shape
const inputShape = [224, 224, 3];

// Load the image
const image = tf.io.readFile('image.jpg', 'array');

// Resize the image
const resizedImage = tf.image.resizeBilinear(image, [224, 224]);

// Normalize the image
const normalizedImage = tf.div(resizedImage, 255);

// Pass the image through the model
const output = model.predict(normalizedImage);

// Print the output
console.log(output);
import numpy as np
from PIL import Image

# Load the image
image = Image.open('image.jpg')

# Convert the image to a numpy array
imageArray = np.array(image)

# Print the image array
print(imageArray)
const tf = require('@tensorflow/tfjs');

// Load the image
const image = tf.io.readFile('image.jpg', 'array');

// Convert the image to a tensor
const imageTensor = tf.tensor3d(image);

// Print the image tensor
console.log(imageTensor);